Table of Contents
Fitting everything in my camera bag today is now easier than ever before, but it took time before figuring how to accomplish this. I know there are photographers out there struggling to fit everything they need and sometimes forced to leave some of the camera gear behind. Are you one of them? Or interested in learning how you can comfortably fit everything you need? Then this piece is for you.
How to get the most out of your camera bag
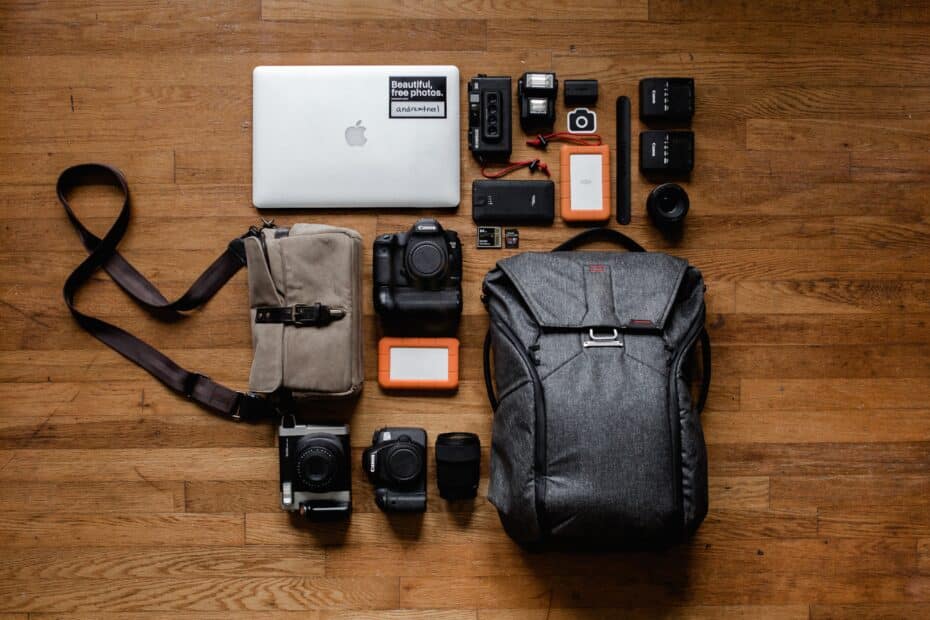
First, here is what I fit in my LowePro ProTactic 450AW (it isn’t a must to have this bag; any other good bag is ok). Besides, which bag I use depends on the type of trip I’m taking.
- 1 DSLR Camera
- A flash
- 14-24mm lens
- 16-35mm lens
- 24-120mm lens
- 80-400mm lens
- 105mm macro lens
- 24mm f/1.4 lens along with my set of 4×5 glass filters
- Macbook Pro
My experience
The dividers that come with the bags never worked for me. They were either too small to hold the lenses I need or overly large that the lenses had extra space to move.
First solution: got get rid of dividers for wraps. Wraps really impressed me as they padded my cameras and lenses well. However, something about them really pissed me off: it took me some time to wrap the camera and lenses. This little fiasco forced me to go back to dividers.
Going back seemed a good idea, but the problem was not gone. I still had to leave behind some gear, which really hurt in some instances. I can recall several times when I left lenses I thought were not crucial for the task only to end up wishing I’d brought them later.
Pouches
Still contemplating how to fit everything I need, I found myself staring at neoprene lens pouches in one of the popular camera stores. These pouches offered the exact padding I was looking for and come in different sizes that perfectly fitted each lens in my kit. They are 4-5mm thick; hence two pouches side by side have about as much thickness as the velcro dividers do.
They allowed me to position my camera and lenses in the bag against each other without worrying about how the dividers fit.
Minus the dividers, it was easier to fit everything I need. However, I noticed something. After wearing the backpack while hiking, the items had a tendency to settle to the bottom, which made it difficult to find things when I opened it. Eventually, I settled on a hybrid solution that has been working exceptionally well.
The ultimate solution
So, what is this solution?
I have two full-width dividers running across the LowePro ProTactic backpack. The bottom of the backpack only accommodates the 80-400mm lens, with no pouch. In the next compartment is room for three lenses, all in neoprene pouches. Next, I use one of the velcro dividers to accommodate my camera, on the side. I’m now left with a space that can house my filters, or one or two more lenses in pouches, or one lens and my filters, with some smaller accessories like a flashlight tucked in the middle or lens cloths.
Here is exactly how to do it:
- Measure each lens you intend to store in a pouch. The interior dimensions should be around a half-inch larger than the lens. I used the LensCoat Lens Pouches. I prefer using pouches because they offer extra protection. Even when I remove a lens from the bag, it is still protected from drops and bumps.
- Depending on how you organize things, you may want a neoprene camera pouch as well. I love using the LensCoat Body Bag pouches. Select the one you prefer.
- Label the outside of each pouch for easy identification. You can use a marker.
By partitioning and organizing my bag this way, I fit more into it because I’m not limited to what the dividers will allow me to do.
How to organize your SLR camera bag
Once you have picked an SLR camera bag with a lot of compartments to accommodate your camera gear, you can organize it by following a few steps.
Step 1: Camera placement
The camera section in your bag may include slots for multiple or different sized cameras. Decide where your camera will fit the best, and insert it with the lens facing the bottom of the bag. Doing this will allow you to pull your camera out quickly and start shooting. Ensure the lens cap is on when the camera is not in use to prevent damage to the lens.
Step 2: Lenses, flashes, and filters
There are slots precisely for lenses in your bag. Insert them in the right slots. It is advisable to fit filters in empty slots nearby, as they are used in conjunction with the lenses. Find empty slots to accommodate any flash accessories.
Step 3: Housing the batteries
Batteries should be housed in one of the slots for quick access. It is recommended to house the used ones separately to avoid confusion.
Step 4: Memory cards
These are the tiniest items in your SLR camera bag and must be stored carefully. They are safer when housed in the inner zippable pockets. If your bag doesn’t have such pockets, you can use a small resealable bag and place it inside the camera bag.
Step 5: Maintenance supplies
Ensure you have room for lens cleaning cloths in your bag. These are convenient for any quick cleaning needs when taking photos. Having a small can of compressed air in your bag can be convenient for cleaning dust and dirt from your equipment.
Step 6: Store your manual
This is very crucial for newbies who are using new equipment. You can place it on an outer pocket.
Step 7: Additional padding
While most camera bags are well padded, having extra padding will further shield your equipment. Consider placing padding in any open spaces in your bag without blocking access to your accessories. Avoid overfilling your bag, as it will be difficult to close it well.